Overview
- In this article we’ll explain how to configure QuickBooks Online Integration.
Connect to QuickBooks
- Open the Main Menu and scroll down to CONFIGURE.
- Click Settings.
- Click Connect to QuickBooks.
- Follow the connection wizard steps in the popup window.
Global Settings
- Open the Main Menu and scroll down to CONFIGURE.
- Click Settings.
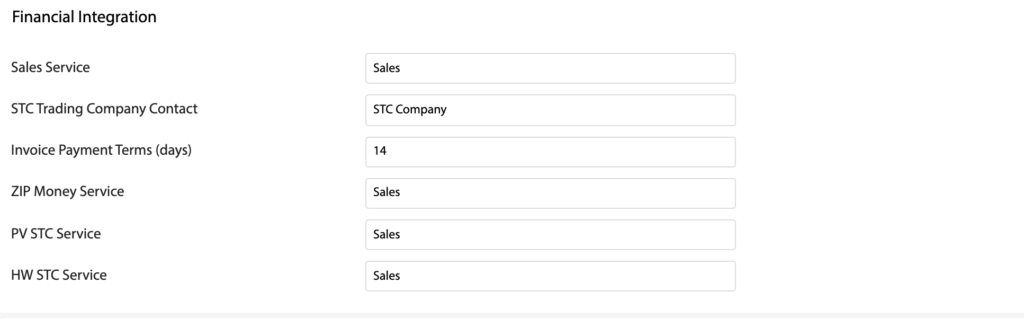
- Scroll down to Financial Information.
- Fill out the following settings:
- Sales Service – Name of the service to use for all sales by default.
- STC Trading Company Contact – Select a Customer to use for all STC Claim type Invoices.
- Invoice Payment Terms (days) – Number of days after the Invoice Date to set the Due Date.
- ZIP Money Service – Name of the service to use for ZIP Money Sales.
- PV STC Service – Name of the service to use for PV STC Claims.
- HW STC Service – Name of the service to use for HW STC Claims.
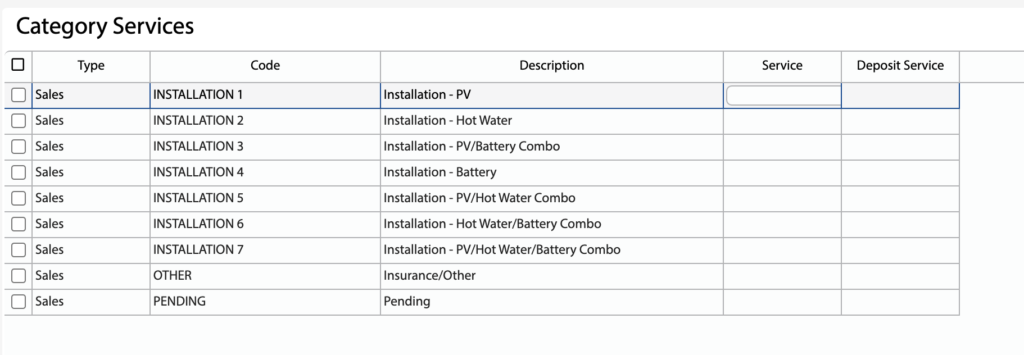
Setup Category Services
- Open the Main Menu and scroll down to CONFIGURE.
- Click Category Services.
- For each Category fill out:
- Service – Name of the service to use for sales for this Category.
- Deposit Service – Name of the service to use for deposits for this Category.